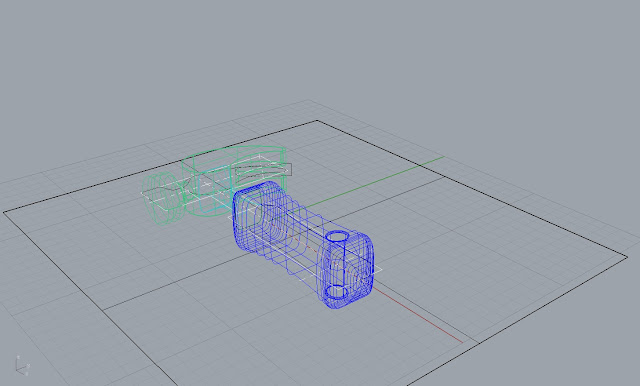
So for this project I decided to stick to the steps that were presented to see how closely I could follow the instructions without altering them into what I felt would include more personal touches. It was a homework assignment that started to teach us how to:
1.Render
2.Use arches to create curves
3.Continue extruding objects to create objects in the round.

As you can see in the above outline of the entire hammer the handle and head are separate allowing me to change the pieces separately to continue a perfect sized hammer.

I decide to include a Artistic view to help show the hammer without all of the fancy lighting and materials that I could have added. I feel this allows the piece to be seen for what it is without the distraction of added material.
The shaded view allows me to see all of the contours and curves and lets me see things that i need to improve on. I believe that there are areas that could be worked on such as the neck of the hammer from this angle looks a little off or that the handle of the hammer seems a little big now that I looking back at it.
Finally the hammer in its rendered stage at the end. I believe that this allows you to see the piece in its entirety. The gloss and reflections allow the piece to be seen as something I could pick up and use in real life. There were hard parts of this project like making the neck of the hammer fit between the body and the head but after spending sometime on it i believe that i made it look really nice.


Comments
Post a Comment